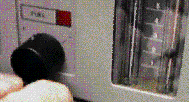
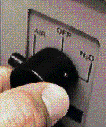
The first sample we set the instrument up for is the BLANK. This can either be
distilled water, or the background solvent for our remaining samples.
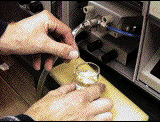
Do not confuse this Integration with the Peak Area button shown at the left of
the graphic. Peak readings are used for certain non-flame methods where a
small sample is burned in a special furnace. When using a flame, follow the
directions below.

To specify this Integration Time, begin by pressing the INT TIME button.

Each time you press READ, the instrument will add up all the readings in this
interval, then present you with the average value.
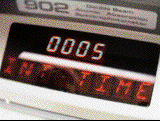
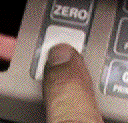

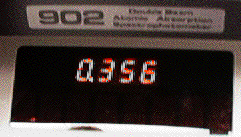
To set it to zero absorbance, press ZERO. After the five seconds of integration have elapsed, the instrument's on-board computer will adjust the reading to 0.000.
You are now ready to read your samples.
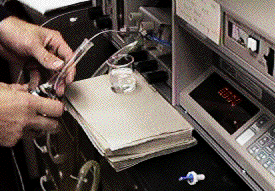
Remember to run your samples and unknowns all a the same time to maintain constant instrument performance for all your samples.
Let the sample aspirate for a few seconds before reading it.
It is a good idea to recheck the zero setting with your blank every few samples
and at the end of your analysis.
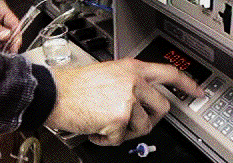
Be sure you have enough significant figures for good statistics. For example, if your middle standard shows only 0.003, you need to make stronger standards.
Absorbances greater than 1.000 mean you need to dilute your standards.
If you are just learning how to use atomic absorption, repeat this integration reading two more times, recording the absorbances in your laboratory notebook.
From the variations observed in this number you can estimate the error in your reading.
If later readings are all different from the first one, it means you didn't
wait long enough after the start of aspiration to wash the previous sample out
of the nebulizer. This is known as the Memory Effect.
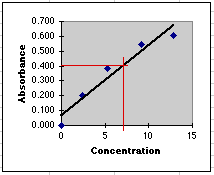
It is quite common for the working curve in Atomic Absorption to have some curvature. You may need a second order fit. (Or you can draw the line in by hand.)
Don't force a straight line through these values if they have an obvious curve.
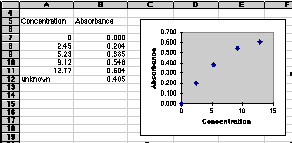
By the way, the values shown here are somewhat exaggerated to show the
curvature clearly. Real samples will be curved, but probably not this much.
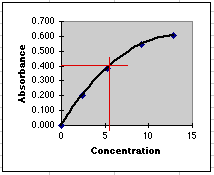
Note the error in concentration that results.
You can then turn off the Air using the oxidizer master control as shown.
Go to Part 4 to learn how to completely shut down the instrument if you are the
last one to use it for your laboratory section.
